

DA Q&A – Dealing with Water Damage

[May 2013] Storms and flooding present special problems to broadcasters. Once the water recedes, the temptation is to turn the transmitter back up and get on with it. But is that a good idea? This installment has application to nondirectional as well as directional stations.
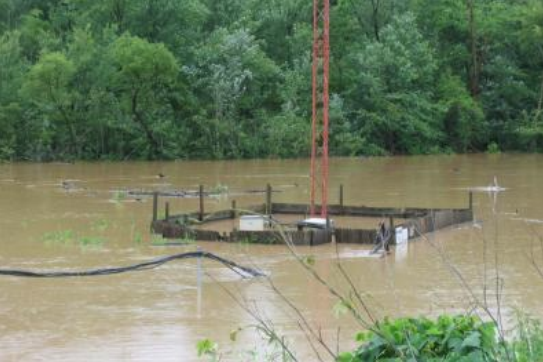
Among the more discouraging sights in life you certainly would have to include seeing your transmission site underwater, whether from a heavy rain or a river that overran its banks. Courtesy: Ken Stewart Not exactly what you want to see at the tower What can do – and what should you not do – if your AM transmission equipment sustains water damage due to a natural disaster?
Inspect First!
If your equipment has been under water, after the water is drained, start by performing a careful, visual inspection of anything and everything that got wet.
And while it should go without saying: first of all, be certain all AC electrical power is removed and no power cables are exposed. If your towers are lit, do not forget the power lines for the lamps and beacons.
As you inspect, no matter what you see, take your time. Getting the system up a few minutes sooner is not worth the potential for major damage that will take weeks to repair. This is especially true with the transmitter and its internal sections. Depending upon make, model, and age, you may want to contact the manufacturer to guide your inspection.
Here, we want to focus on the transmission system itself (coax and matching networks) at the Antenna Tuning Units (ATUs) and the phasor (if the station had directional modes).
Should Your Repair or Replace?
The type of water (fresh/salt) will determine the approach to make the system ready to use again.
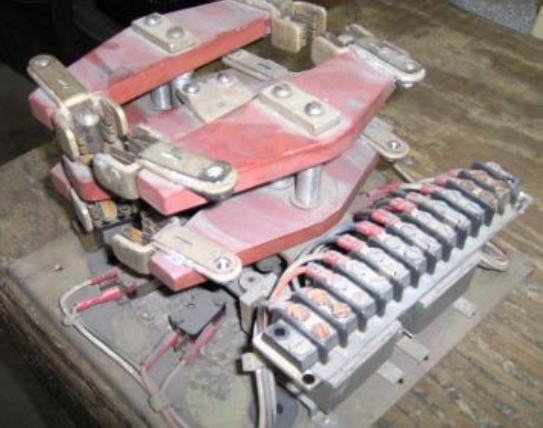
However, it any case of water damage, electrical components such as solenoids/micro switches on RF contactors and switching relays will have to be replaced or rebuilt.
It is true that you might save a couple of bucks by trying to reuse contactors, but it just is not worth the risk. Although you might think I am just trying to sell you new parts, the process of rebuilding a reliable contactor really is more complex than you might think.
If you do chose to rebuild, you need to carefully check for any damage or deterioration especially to the copper contacts or the solenoids – which could prevent reliable switching.
All of the moving mechanical parts must be cleaned and new grease applied to those that will remain in use.
Perhaps you might have been taught that all you need to do is clean off the contactor, perhaps with distilled water, dry it, and put it back to work. Think so? Look at this one:
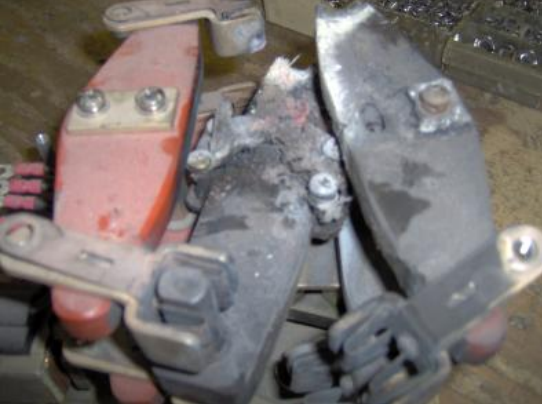
It was residual moisture on the insulated bars which led to the contactor burning up. Contaminants can allow carbon tracks to build up and the result is not good.
Some Keepers
On the other hand, RF coils and capacitors can generally be salvaged.
Salt water will increase the potential for corrosion, especially over time, but fresh water can also bring silt, chemicals, and other contaminants into the transmission gear. Because the damage many not be instantly visible, probably it is wise to replace any parts where you have any questions.
Cleaning and Refurbishing
With inductors, the insulated support bars should be removed and dried with heat to remove any moisture.
The picture above, showing what can happen to a contactor, should be enough of a warning to explain how important it is to get all of any remaining moisture out.
If the bars are sealed with coating to prevent moisture absorption, this will not be necessary. The “red” GPO-3 material Phasetek uses is 3 sealed for this reason and to prevent carbon track buildup.
The connection points on inductors – that is the end terminations and tap points on fixed and the roller and wiper finger connections on variables – should be dried and cleaned with a fine steel wool or something similar and an appropriate.
Both the roller and the clips need to be cleaned inside and out.
Flange Care
Typically vacuum capacitors and their flanges can be cleaned.
However, the aluminum flanges on mica capacitors should be replaced because it is likely water got between the flange and the capacitor.
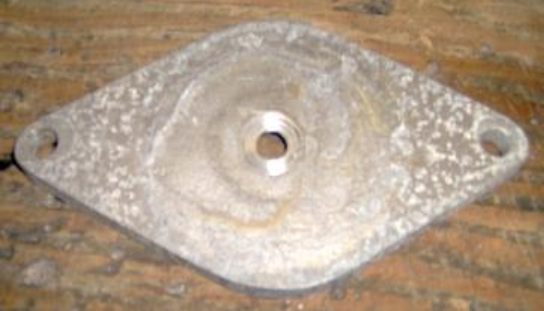
Because there is no way to restore a completely smooth and conductive surface in the field, these flanges basically will present an opportunity for arcing.
Ceramic mounting insulators that have a glazed outer surface will generally be OK, as long as they have no cracks.
General ceramics and plastics that do not have protection from moisture should be replaced as they already either have partially “melted” or begun the process of decomposition.
Other components such as lighting/static drain chokes also need to be checked that no moisture remains in the form.
After all connections have been cleaned, using something like CRC’s QD Electronic Cleaner” or another conductive spray and moisture absorber is a good idea.
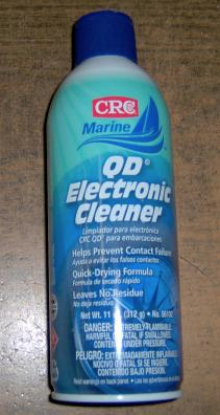
A good place to find this sort of product is at your local marine or automotive parts store.
The Coax
If the coaxial feed cable has been under water, the foam dielectric may have absorbed some of the water. The longer it was submerged under water, the greater the chance is of this happening.
Cut your coax back a few inches at a time and inspect it for traces of moisture (or a greenish color in the foam). Those are signs of water.
While it is true that if the cable has plenty of safety factor margin, it may withstand applied voltage even with a compromised foam dielectric, the velocity characteristics and impedance may vary. This could cause significant changes in the phase and/or ratio of towers in a directional array.
Also, some lines of cable have a tubular inner conductor. If this has been filled with water, the line will work electrically – but if it is exposed to freezing conditions it may freeze and split. For that reason, it is best to replace any coax that does not look right upon inspection.
Salt Water Concerns
In the case of salt water immersion, you have a few extra concerns to consider. For that reason, it is a good idea to start by cleaning all parts with distilled water. Lacquer thinner is a good cleaner.
Do not use anything that will leave any kind of film or that might not completely dry out over time. This is why oil-based products are not necessarily useful.
All copper strap connections should be pulled apart – removing the nuts and bolts – dried, and cleaned. When reassembling the parts, a light coating of lacquer thinner or similar that will not leave a residue should be used to remove any film on connection points.
Bring It Back Up Slowly
The more parts you replace with new pieces the more confident you can be about having eliminated water damage. A chat with the manufacturer of your phasor is a good idea to make sure you have considered all the factors.
Finally, after cleaning and or replacing parts, it is a good idea to apply transmitter power in small increments. Run for a while at each power level.
As the system “settles” back in, check each connection with a temperature probe like an IR thermometer to verify that there is no excessive heating. This will tell you if the connection points are good.
Once you have reached full power, periodically keep an eye out for signs that some contamination has started to degrade connections. Check for “hot spots” or “wandering” phase/ratio readings.
Do you maintain a directional antenna? This series is designed to help. If you have a question, feel free to send it on to Kurt at the email address below.
– – –
Kurt Gorman, President of Phasetek Inc., is a second generation engineer and phasor manufacturer.
If you have a question about directional antenna systems, you are invited to ask Kurt. His email is: kurt@phasetekinc.com